Replacing the old battery on rechargeable bike lights
Hello! Recently I needed bike lights for my bike. And I remembered that I already had rechargeable bike lights that I bought ten years ago, that I hadn’t tried in a long time. I tried to recharge them, but after fully charging them, they only worked for maybe 5 minutes before they turned off again.
I don’t know much about electronics, but I’ve been curious about whether it’s possible to fix old electronics for a long time, and this seemed like the perfect repair project because I might just need to replace the battery.
So I went to the local queer makerspace where I’m a member to use the soldering iron and try to do it! I don’t know much about electronics and this post does not contain any safety advice because I don’t know much about safety. I think it’s nice to do projects in a community space where you can get help.
step 1: cut it open
The bike light felt like it was made of silicone, so I cut open the silicone in a haphazard way along something that vaguely looked like a seam.
I definitely ripped some silicone in the process and it was pretty messy but I got it open and found the circuit board.
I don’t know the model number of the bike lights but there’s a photo of them at the end of the post.
step 2: remove the screws
There were some screws attaching things together so I removed them so I could get the circuit board out.
Mostly I tried to remove as few screws as possible because I was worried about losing them or not being able to put them back after. I probably put the screws in a bag or something.
step 3: get the circuit board out
I took out the circuit board. Here’s what it looked like:
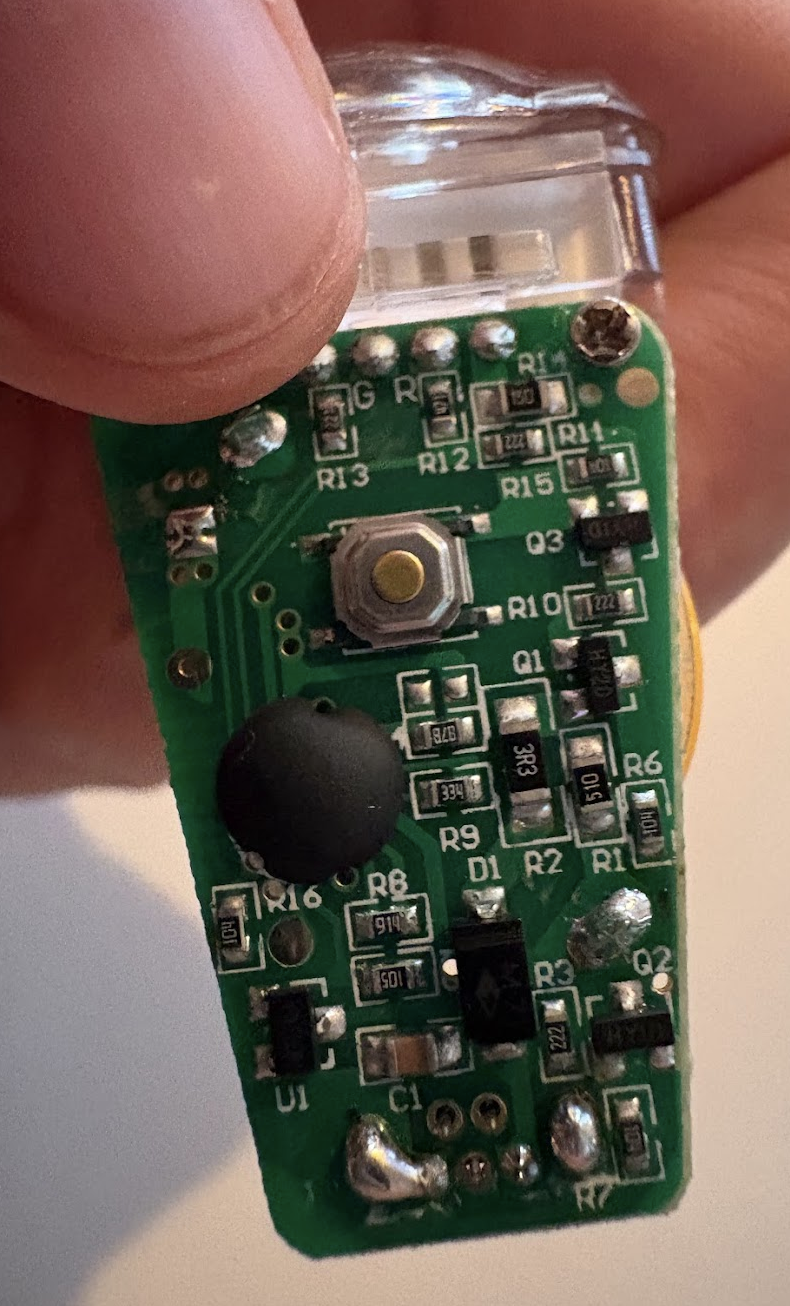
You can see where the battery is attached, I think it’s left of RI3 and above Q2.
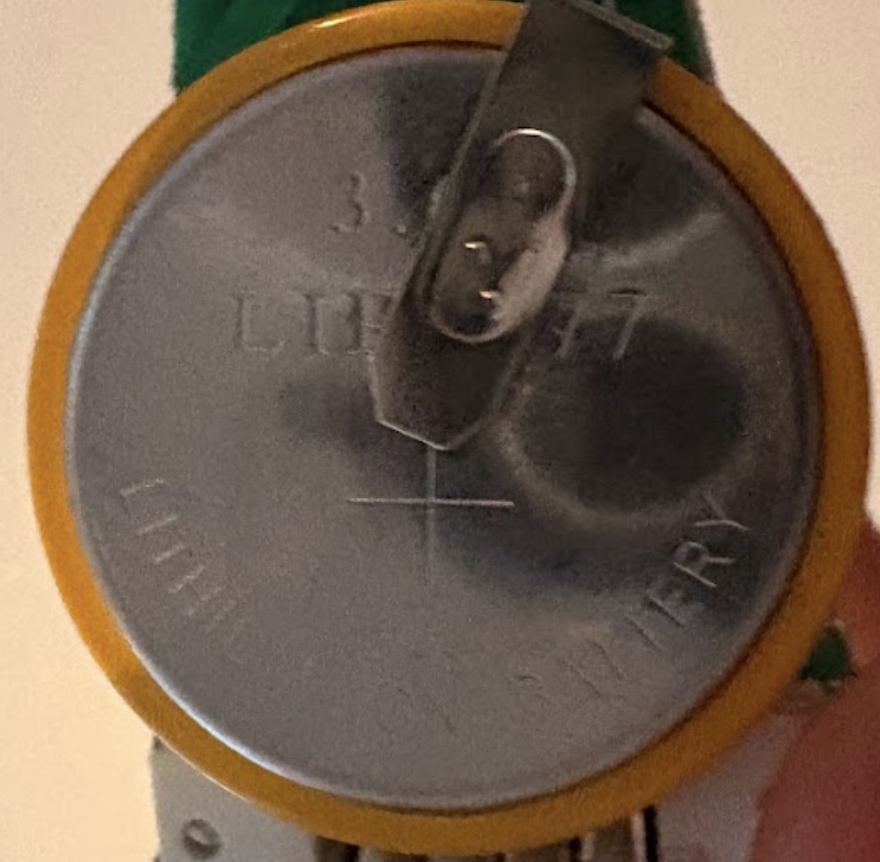
Here’s what the battery looked like:
step 4: desolder the battery
I’d never desoldered anything before, so I found the iFixit guide to desoldering and read it. Also I asked my friends Lee and Lauria for advice.
Here were the steps I ended up following based on the guide & the advice I got:
- Use a desoldering pump to remove most of the solder
- Once most of it is gone, kind of pull them apart to try to separate them
- Also try to avoid getting the battery too hot in the process by taking breaks to let it cool down. I’m not very good with a soldering iron so it took a while.
- The battery has an attachment that is welded to the top. For a while I thought I needed to remove this and it seemed impossible, but it turned out the replacement battery comes with that part so actually I was supposed to leave it alone.
step 5: identify the battery
In the picture of the battery in Step 3, you can see it says something like “3” and “LI???77”. There’s a piece of metal that I think is welded or something to the top of the battery. It seemed impossible and also maybe not smart to try to remove so I wasn’t sure how to find out what an “LI????77” was or how to order another one.
I’ve been trying to avoid using LLMs (though I will not get into that because I am exhausted by LLM discourse and I’m sure you are too), but I really had no idea how to figure out what the battery was so I asked an LLM. It gave the response “LIR2477”, which (when I looked it up) looked exactly the same as my battery so I figured that was plausible.
I would be interested to learn non-LLM ways to figure this out though. There must be a way. Lauria showed me how to use DigiKey’s search which was very cool though DigiKey didn’t have that part.
step 6: buy the battery
I went to AliExpress and ordered:
- 2 batteries (I had 2 bike lights and I wanted to fix them both)
- some silicone glue to glue things back together
I think the batteries were $3 each and the glue was $8.
step 7: solder the new batteries in and glue it back together
The parts took maybe 2 weeks to arive, and once they arrived, I went back to the makerspace and:
- soldered in the new batteries
- put the screws back in. The screws were very small and hard to hold, so at this point I dropped some screws on the ground and couldn’t find them because they were too small. So I just used fewer screws and hoped for the best.
- used the glue to try to put everything back together.
- Make a somewhat halfhearted attempt to clamp the parts I was gluing together
Then after waiting some amount of time for the glue to dry I took it home and waited 24 hours for the glue to cure.
Also I took the old batteries to somewhere nearby that accepts old batteries.
it works!
The lights work! I have used them to bike at night! I still haven’t needed to recharge them (and tragically I had to order a new Mini USB cable because I got rid of all my Mini USB cables, so I’m still waiting for that), so I still don’t know for sure how long the lifetime of the new battery will be.
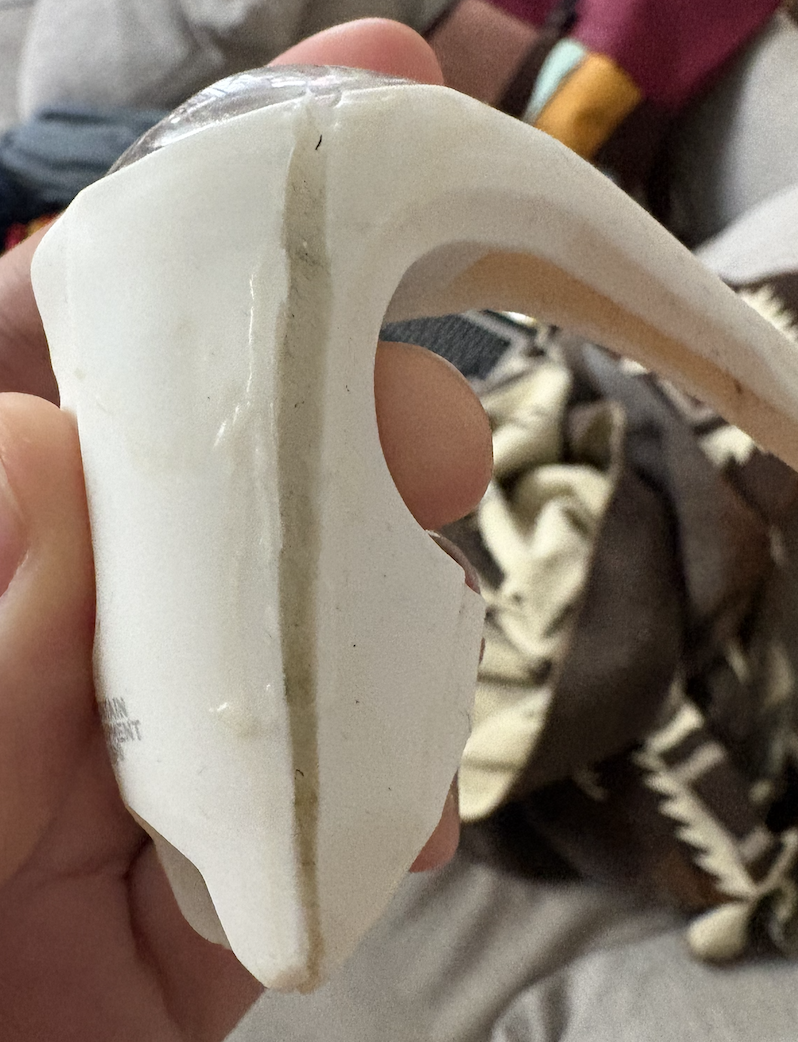
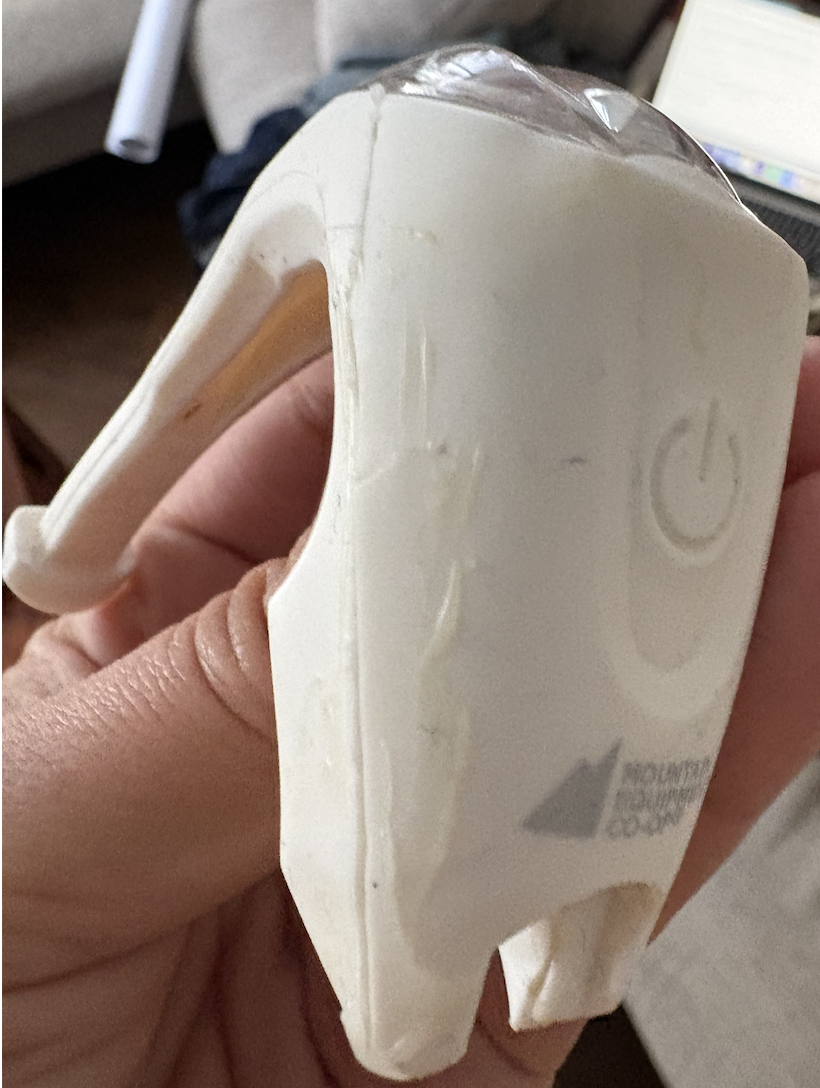
Here’s what the light looks like after re-gluing. You can see that I didn’t glue very carefully. It didn’t really go back together that well but I’m hoping it’ll be good enough.
I thought it was really cool that I was able to do this with extremely minimal electronics skills! It cost about $20 CAD to buy the parts, and (whether or not the repair holds up, I’ll try to update this post in the future!), it was fun to try to repair something and learn something new.